As promised in the previous post, here is a walk-through that will help you add a Google Map to your Blogger page.
Since we are going to use Google Maps JavaScript API, you will probably feel more comfortable if you are somehow familiar with HTML and/or JavaScript. But if not, there will be no stress either - just perform all the copy-pastes at your best and it should work.
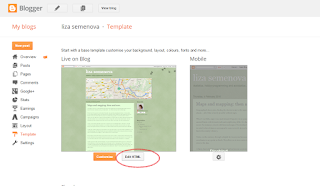
Step Due). Choose 'Edit HTML':

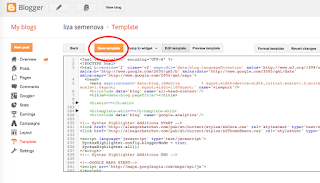
Step Tre). Find the </head> - tag and insert the following code right above it (actually, inserting it at any location in the head-section, i.e. between <head> and </head> is fine)
<!--GOOGLE MAPS START-->
<script src='http://maps.googleapis.com/maps/api/js'>
</script>

<script>
var basel=new google.maps.LatLng(47.558596, 7.585952);
function initialize()
{
var mapProp = {
  center:basel,
  zoom:12,
  mapTypeId:google.maps.MapTypeId.ROADMAP
  };

var map = new google.maps.Map(document.getElementById("googleMap"),mapProp);

var myCity = new google.maps.Circle({
  center:basel,
  radius:500,
  strokeColor:"#0F915B",
  strokeOpacity:0.8,
  strokeWeight:2,
  fillColor:"#13CA7E",
  fillOpacity:0.4
  });

myCity.setMap(map);
}

google.maps.event.addDomListener(window, 'load', initialize);
</script>
<!--GOOGLE MAPS END-->
Step Quatro). Press the 'Save Template' button

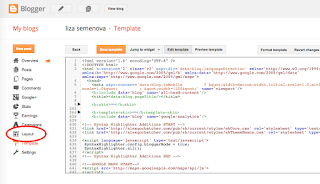
Step Cinque). Navigate to 'Layout'

Step Sei). Chose, in which section you would like to add the map. And insert the following code there:
<div id="googleMap" style="height:200px;border-width:5px;border-style:outset;">
</div>
This is it. Enjoy!
P.S. The most straightforward link to check the details of Google Maps Javascript API is here.

No comments:
Post a Comment